The Addiction of Something New Again

I just had to revisit my initial post for the Quarter 1 Finish-A-Long, hosted by Leanne at She Can Quilt. I couldn't remember all the things that I said I'd work on finishing. And as mid-February is sneaking up on us, I can quite definitely say that I'm headed for failure.

On those items.

There is something about the appeal of a new project. Or at least one unearthed after many moons.

I hit a rather arduous deadline on Thursday which had been causing me more stress than I like, and to celebrate I spent all day Friday working on 1.) bee blocks, 2.) the PMQG block-of-the-month from the January meeting as well as pressing fabrics that I prewashed up to 2 months ago (if not more). 

For the Simply Solids Bee on Flickr

For the Simply Solids Bee on Flickr

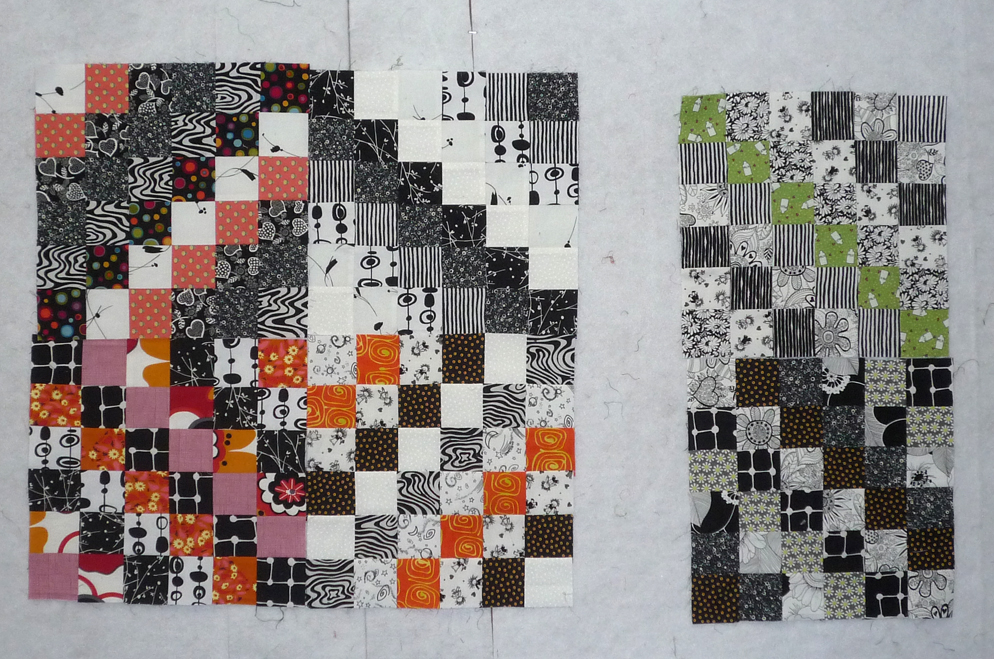
PMQG Jan BOM - Has anyone NOT yet done the scrappy trip along blocks??

PMQG Jan BOM - Has anyone NOT yet done the scrappy trip along blocks??

When that was all complete I stood looking around for something to inspire me. Oh yeah, I keep forgetting to bring back the extension cord and power strip for the sewing machine I'm using to quilt my icy-cool diamond quilt AND my secret wall-hanging, so those are on hold until I get myself together enough to bring those back to the studio. Time is ticking, too.

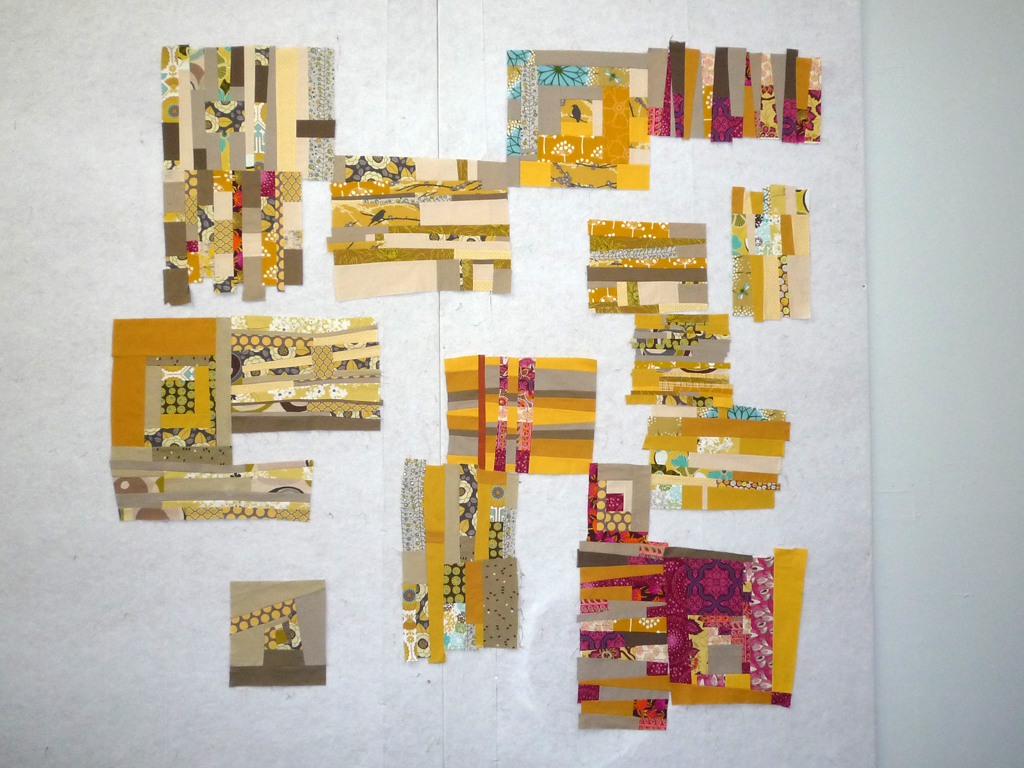
And sitting there, in the little fabric drawer just underneath the one from which I took the wadded up fabrics to press nicely, was the bits and pieces from my improv bee quilt, for my month of the Design Camp 2 [Think Outside the Block] bee last summer. At some point last fall I played around with the blocks I had thus far on my design wall, but not having them all back it was just a test.

one possible arrangement...

one possible arrangement...

It's now been a couple of months since I received the last of the blocks from my bee-mates, and it all went straight into the drawer for future consideration. Apparently that future is now. The blocks and fabrics beckoned to me, the iron was hot (literally and figuratively)... it's time to break these bad boys out!

A little more refined in my eye

A little more refined in my eye

The next step is to start filling in the blanks. I want to keep a fair amount of background "negative space" going on, but also have so many prints that I still want to incorporate. This will be one heck of an organic process and I wish there were a good way of keeping the block arrangement and size more or less as is without dominating my design wall for weeks. Is that going to be the motivation to busta move on this quilt top?? I left yesterday evening with one little corner coming together, and am looking forward to playing some more with the rest of it in the next few days!

P1050506a.jpg

Am I the only one getting completely sidetracked from the lists I made a mere month ago?? One thing to remember is that we do this for the love of it, and if we're lucky to have something to create using that energy, all the better.

Getting off track

About two weeks ago an exciting opportunity presented itself, and was quickly set in motion. There are times I've thought too quickly, but a person has to learn to roll with the tide.

It's something that will take me in a completely other direction than where my concentration has been of late, but a collaboration that has the potential for a long-term presence - and visibility in a real-life storefront!

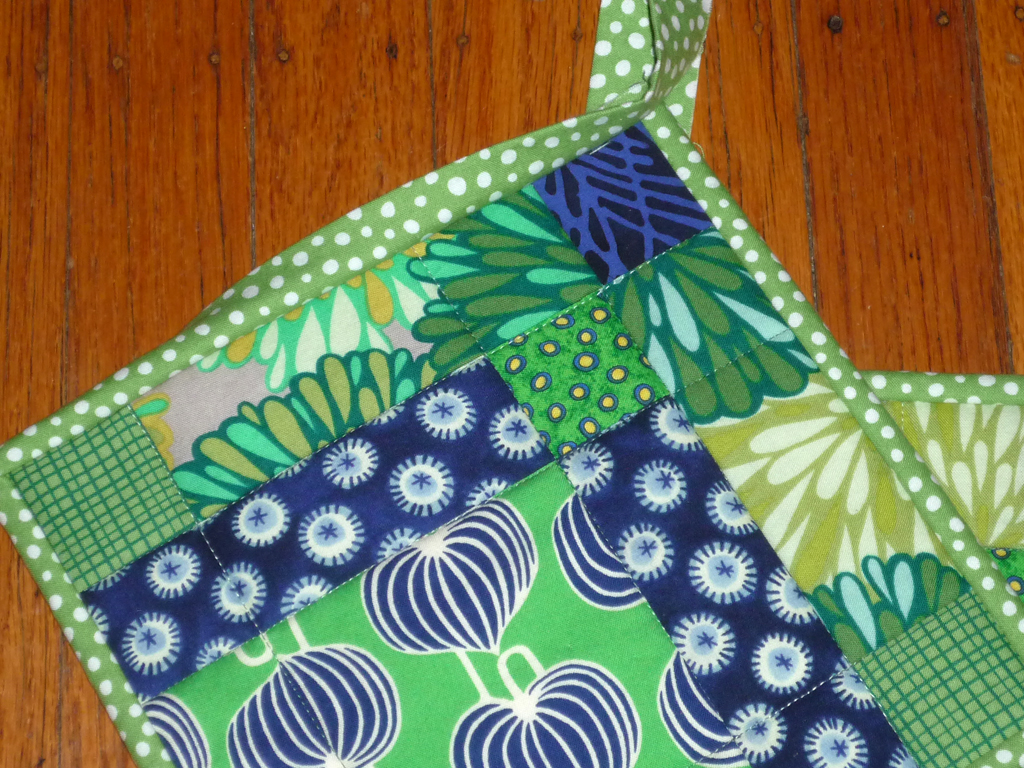
New fabrics to work with - future napkins, coasters and pot holders (hopefully).

New fabrics to work with - future napkins, coasters and pot holders (hopefully).

It's less about the quilting or my own designs, and more working as an independent contractor sewing housewares. And I can't say whether it will pay better, but if it gets off to a good start, then I have no doubt that will be the case, since most of what I make I make on spec, in which case it don't pay so well. So, why not get started?

P1050443a.jpg
P1050442a.jpg

Have you all heard the line "It's all about who you know."? I'm sadly learning that's true. Not sad because of the connections that I've made, but rather because I've never prided myself on networking. I'm shy. And may come off kind of awkward in some situations. But it's the more organic networking that really works for me, apparently.

Let's start with a quick little anecdote. About 2 or 3 months before my 5 yr. college reunion I decided to move away from my home of the previous 5 years (NYC) and couch surf indefinitely all across state lines (granted, most of the duration I was staying with either my mom or at my dad's place).

A photo of me and Tom, back when my dorm room walls looked like THAT! Can anyone say early to mid-'90s??

A photo of me and Tom, back when my dorm room walls looked like THAT! Can anyone say early to mid-'90s??

At reunion I was discussing potential landing spots with various people, including my buddy Tom and his (then) girlfriend Kathy. When, several months later, I was emailing with Tom from my new home in Portland, OR he mentioned that his (then) girlfriend's sister lives in Portland and asked her if he could share her phone number. Jumping ahead about 11 years, Tom and Kathy are married with two kids, living in Portland, ME, while Kathy's sister Jenny is one of my very best friends here in Portland, OR

P1000387a.jpg
Jenny with Becca

Jenny with Becca

Which leads me to this little venture. Because of my friendship with Jenny I got to know Becca, and because we enjoy each other's company so much and she knows I love reading she invited me to join the book club that she's a part of. And in this book club is Rochelle, who sent me a message just the other week saying that her husband is about to open a furniture resale shop in an absolutely excellent location in St. Johns, and is looking for someone to sew some handmade housewares.

Phew. Did you get all that?

So, thank you Tom for setting this in motion. Didn't see this coming back when The Crying Game was on the big screen, did ya??

WIP Wed - 1/30/13

And the day keeps rolling around. We're only 4 weeks into this year and already I feel as though I'm getting way off track from my initial goals... but I think that's called being malleable.

The last week has been a roller coaster of developments and setbacks, but mostly developments. At least I hope that's how it works out.

My new projects this week are tied in with a potential venture. I've been in communication with the friend of a friend who is soon to open a shop here in Portland and wants to carry household items made by local artisans, as well as have someone sew items specifically for the shop. We're still ironing out which role I will be filling, but in the meantime  I did get started on a couple of projects for him.

Just hemming fabric for a table cloth

Just hemming fabric for a table cloth

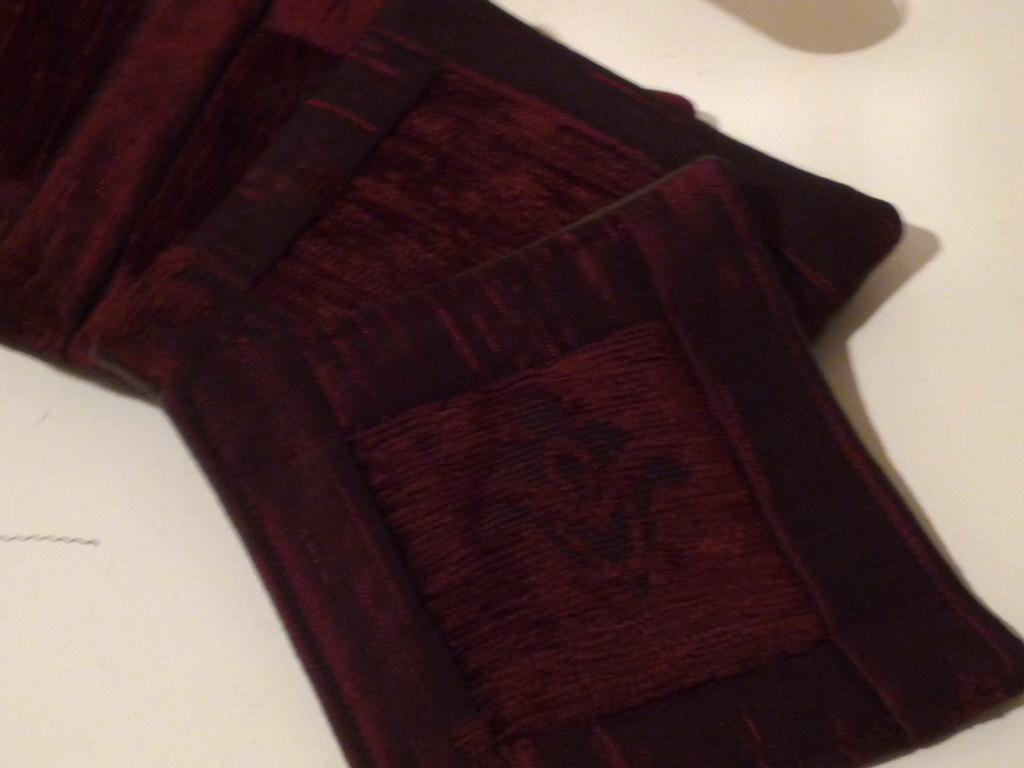
Some fancy-schmancy coasters that I'd be nervous to use EXCEPT with red wine!

Some fancy-schmancy coasters that I'd be nervous to use EXCEPT with red wine!

And given the unexpected timing on that, plus the immediacy of it, I sadly have not gotten much else done this week. Oh, except working on my sample blocks for the Friends + Fabric 2 Bee, as February is my month as Queen Bee.

P1050416.JPG
P1050412a.jpg

I wrote up a tutorial for the machine applique technique I've been using, found on this post: http://surroundedbyscraps.com/blog/2013/1/26/appliqu-circle-ish-tutorial-take-2, which had to be rewritten when I accidentally deleted the draft. So THAT took up some of my time, too. Not to mention taking over 100 process photos! Excessive, much??

The one other project I managed to get any work done on this week is the quilting of my icy-cool 60/30 diamond quilt. I'm about 75% finished with the quilting. Yay!

a peek from the back

a peek from the back

And finally I completed the Warm/Cool QAL wall-hanging!!! I haven't taken a full photo of it, yet, but managed to snap a quick shot in my living room before leaving for work this morning.

P1050446a.jpg

So, I guess as I take stock, it wasn't quite as unproductive a week as I first thought. And if all goes well with this new venture, I may be sharing fewer quilty projects in the coming weeks and instead broadening my grab bag.

So, it looks like I got a couple of new projects under way, made a little progress on one or two things, and managed to finish one quilt. And didn't touch my green scrappy top, the navy and beige HST quilt, my super-secret wall hanging nor did I make any progress on sandwiching or quilting any more quilt tops.

Linking up with Lee's blog, Freshly Pieced for WIP Wed!

WIP Wednesday at Freshly Pieced

Appliqué Circle-ish Tutorial (take 2)

7am 26 Jan, 2013. This is terribly unprofessional, but I have to begin this post by venting - I spent the last 26 hours (minus about 10 hours for sleep and dinner) working on this tutorial and post, and thanks to this less-than-user-friendly Squarespace format I deleted the whole darn thing in one fell swoop, thinking I was removing a photo from where I placed it. Of those 26 hours, I can confidently say that no fewer than 5 were spent at this computer working on the original post. Grrr. Hopefully I can do justice to my original detailed plan in a way that you all can follow and enjoy. Down to it!

Please at least glance through all of the instructions before starting on this. I have combined a couple of different techniques, so you may want to pick and choose your approach.

Things you will need to begin:

Freezer paper

An iron that offers adjustable settings

A good seam ripper

Small, sharp scissors (preferably with a blunt point)

Fabric - background pieces of approximately 13" square and anywhere from 3-9 different prints for applique pieces per block.

*The following is optional and best applied if planning to hand applique as opposed to machine applique. I will include separate instructions for this technique in italics and marked with an asterisk (*).

*Heavy starch, a small container for the starch and a little, flat-tipped, inexpensive paintbrush.

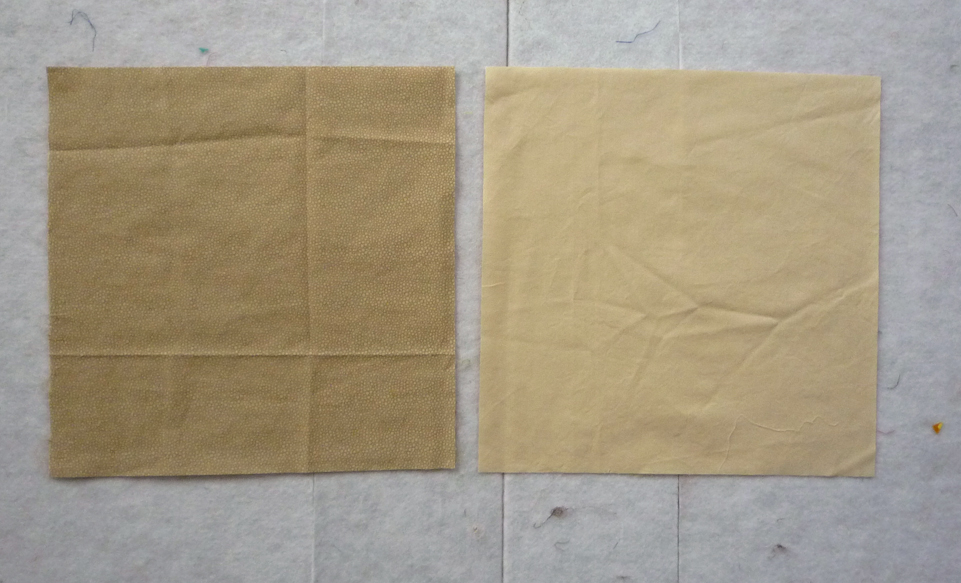
1. Cut your background square at approx. 13". Chances are it will shrink up a bit with this technique, so this gives us some leeway on finished size.

P1050323.JPG

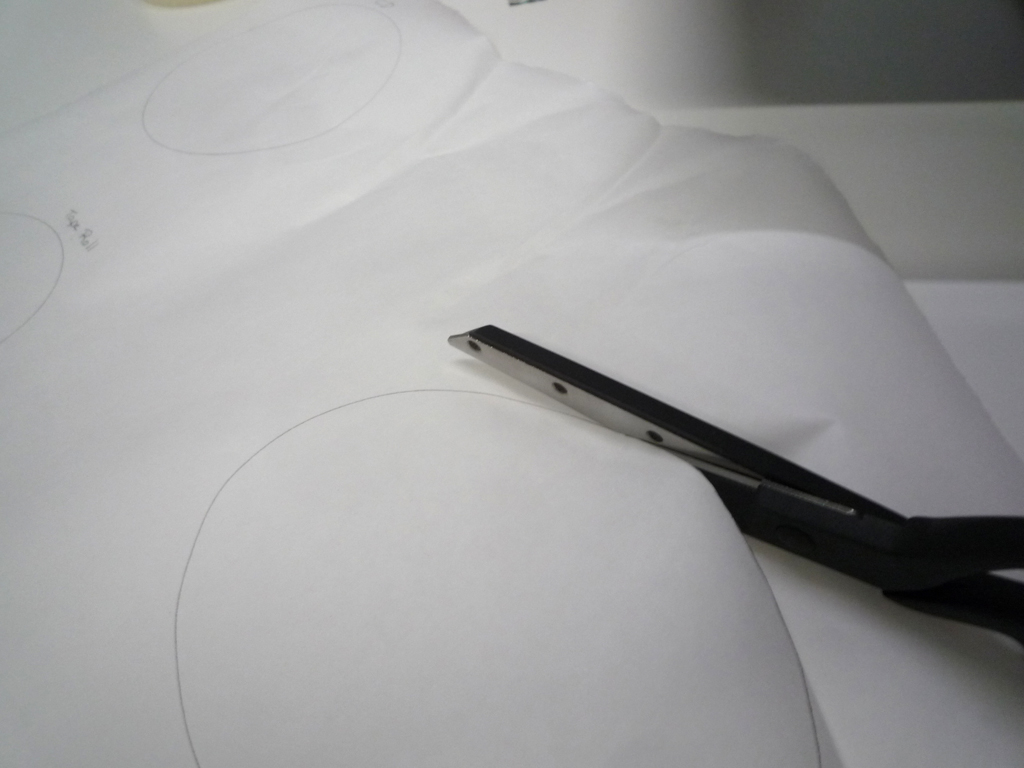
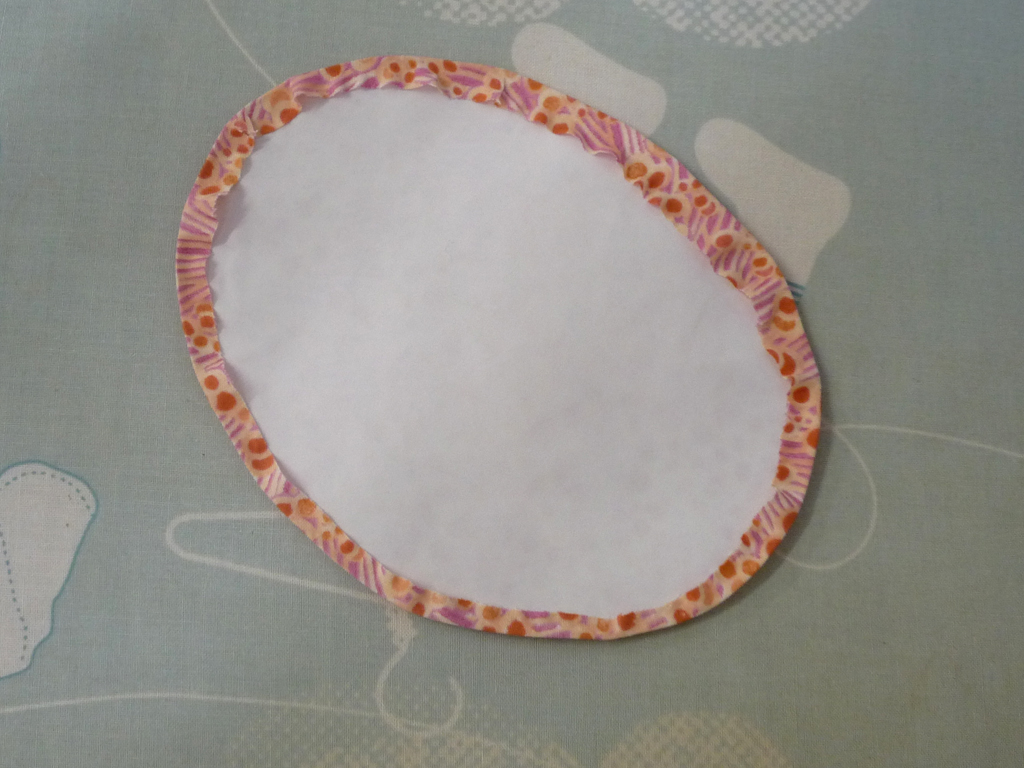
2. Draw your largest circle onto the non-waxy side of the freezer paper. Make sure it's no larger than 12" diameter (if you're planning to just do a single circle group on the block) or more likely somewhere closer to 7" - 4". To get your circles you can use any number of tools: a compass, an old CD, the lip of a glass or simply freehand it for a less precise look! Keep in mind that the finished applique piece will be the same size as your drawn line (give or take a millimeter or two).

P1050329.JPG

3. Cut out your "template" ON the line.

P1050332.JPG

*If you want to use the starch method, please skip to section 4b.

4a. Place your template waxy side down on the right side of your fabric for the bottom (largest) applique. Lightly tack it down using an iron on med heat - I usually have mine set at the Wool/Silk setting for this. Cut around the template leaving a 1/4" - 3/8" seam allowance to the outside of the freezer paper edges.

P1050333.JPG
P1050335.JPG

Now if you are using a freehand or wonky circular shape, make a registration mark on the template anywhere you want, then transfer it onto the fabric by making a little notch in the seam allowance.

P1050336.JPG

5a. Peel off the freezer paper template. Flip over your fabric piece so the wrong side is showing and place your freezer paper waxy side up, matching up those registration marks. Do the best you can to have at least a 1/4" seam allowance all the way around.

P1050337.JPG

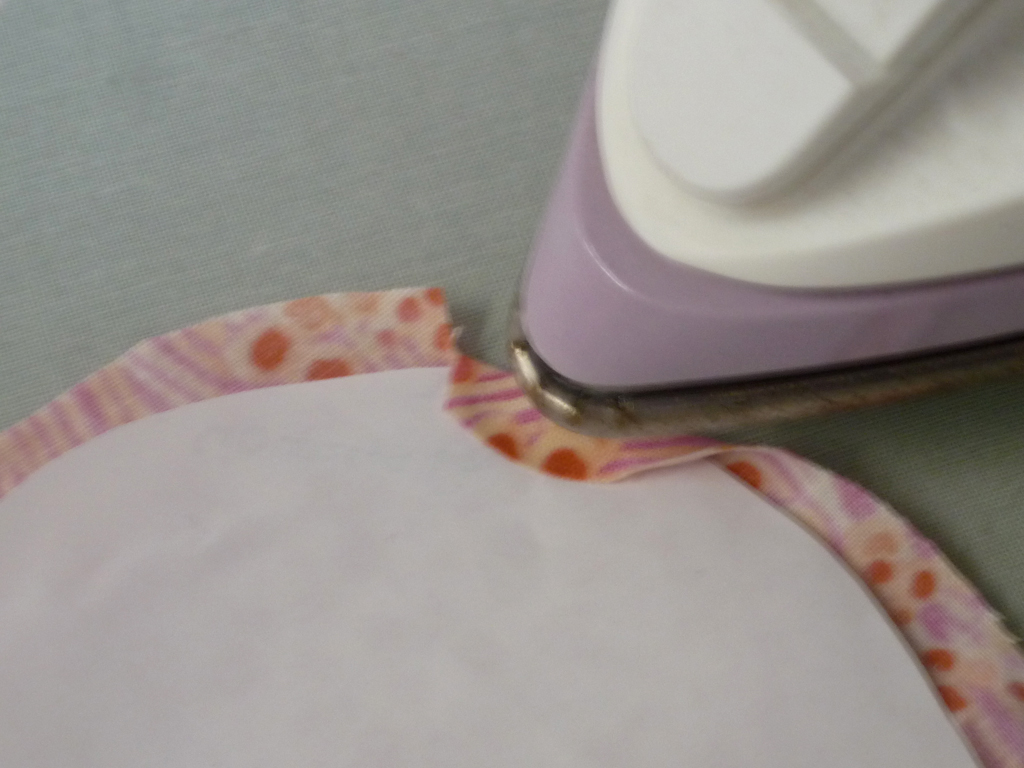
Start pressing your seam allowance onto the freezer paper, using the edge of the template for your fold. Be cautious not to iron directly onto the freezer paper itself, but if you do it's super easy to clean off your iron using either a sole plate cleanser or simply a damp towel or fabric scrap. You may need to ease some overlaps in the folds as you go around, or you can make more nips in the seam allowance and overlap the tabs as you go.

Please excuse the blurry photos that follow... my little camera and my left hand don't necessarily see eye to eye.

Please excuse the blurry photos that follow... my little camera and my left hand don't necessarily see eye to eye.

P1050341.JPG
P1050343.JPG

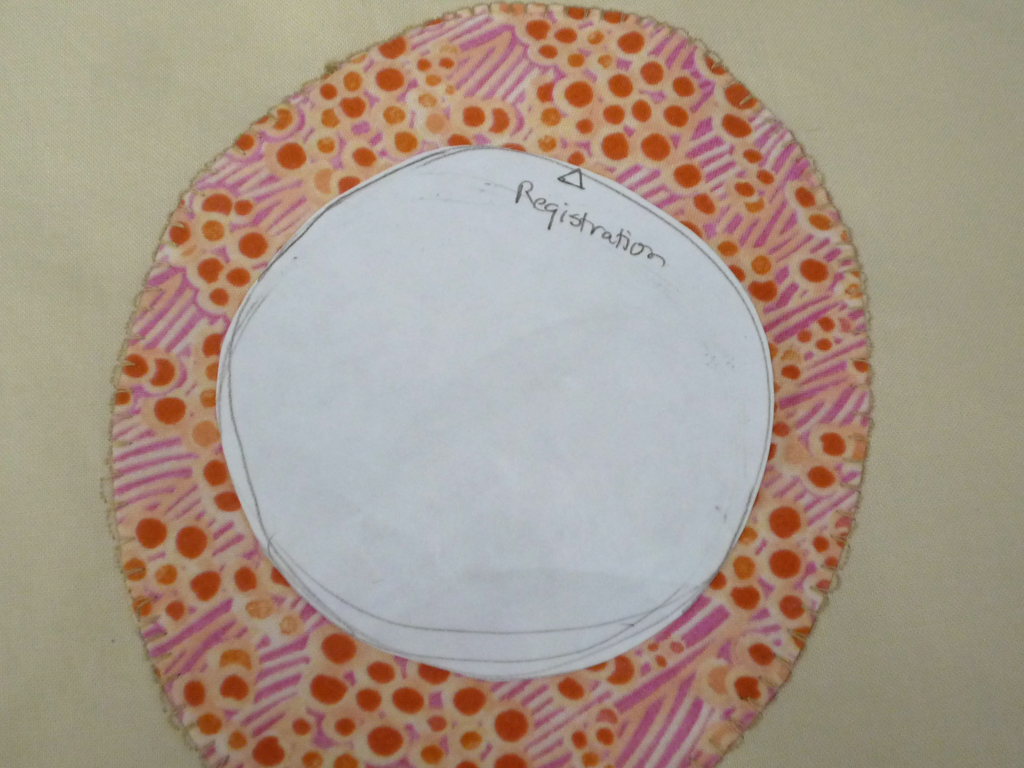
When you get all the way around leave the freezer paper in place.

P1050344.JPG

*4b. For using the starch method (which as I mentioned is less ideal for machine stitching, but I gave it the ol' college try for the sake of this demonstration!) place your freezer paper template waxy side down on the wrong side of your applique fabric. Iron it on securely. Cut around the template leaving a 1/4" - 3/8" seam allowance to the outside of the freezer paper edges.

P1050384.JPG

*5b. Put a SMALL amount of starch in a container that you can dip a small paintbrush into. Trust me, a little goes a long, long way!

P1050387.JPG

Apply the starch around the seam allowance fabric, being sure to get right up to the edge of the template (it's okay to get some starch on the freezer paper, but you don't want to soak it so that the edge loses its integrity).

P1050388.JPG

Press the seam allowance in toward the template. You may need to ease some overlaps in the folds as you go around. When you are confident that the starched fold will hold on its own remove the freezer paper.

P1050389.JPG
P1050391.JPG

6. Now for the fun stuff (yeah right...) - to apply the applique to the background! Again, if you already have a tried and true applique method, go for it!  Choose what stitch you want to use. Feel free to go with either a straight stitch just inside the edge, a hem or blanket stitch over the edge, a zig-zag or some fancier stitch still - whatever floats your boat and makes you excited to work on this. I will say, please no satin stitch. Oh, and as the circles get smaller, maneuvering gets a little trickier, so keep that in mind. When you've decided on what stitch you're using, do a tester on a scrap so you can get your optimal settings.

The default settings for the hem stitch on my machine - one of my goto applique stitches.

The default settings for the hem stitch on my machine - one of my goto applique stitches.

Oh, and thread! Again, go with what makes you happy. I chose to take the easy road and use a neutral thread that more or less matches my background fabrics, but if you are feeling more adventurous you can try and match to each of the applique fabrics, or go with some wild contrast color. Have at it!

running a tester to get the right stitch length and to mark where the needle falls in relation to the presser foot.

running a tester to get the right stitch length and to mark where the needle falls in relation to the presser foot.

The settings I landed on to begin (though I did ultimately bump the stitch length back up to .3)

The settings I landed on to begin (though I did ultimately bump the stitch length back up to .3)

P1050349.JPG

7. If you still have the freezer paper in there (with the waxy side facing out) lightly tack it in place on the background block (I found this easiest working from the back with the iron applied directly to the back of the whole block). If you starched and removed the freezer paper, you will want to use a few pins to keep it flat and in place.

P1050347.JPG

Start stitching!

P1050355.JPG

You may come across sharp points along the edge from time to time, where the fabric folds are not softening to the curve. Simply use the sharp tip of your seam ripper to push those in and flatten them as much as possible.

P1050357.JPG
P1050358.JPG

* With one of the starched applique pieces this part is more or less the same, just beware of stretching the background fabric and/or the edges of the applique too much. If it does get a little wavy ironing it should help flatten it out.

pinned on in preparation for the stitching

pinned on in preparation for the stitching

shows a little stretching, but I was able to press that out.

shows a little stretching, but I was able to press that out.

*If you used the starch method, you can skip to step 10.

8. Now it's time to remove the freezer paper from between your fabrics. Working from the back of the block, take your seam ripper and pierce the background fabric just inside the bulk of the seams, keeping the point from going through the paper underneath. Tear a hole in the background fabric just big enough to get a blade of a small scissors in there. Your scissors should be sharp enough to cut fabric but ideally have blunt points so you don't risk going through the other layers of the fabric.

P1050362.JPG
P1050363.JPG

Cut all the way around leaving a seam allowance of approximately 1/4". Now you have a piece of fabric that can be used for another project or another block if you like!

P1050365.JPG
P1050366.JPG

9. To remove the freezer paper pull it away from the applique fabric in the same way you would open a bag of chips.

P1050369.JPG

The stitching should serve as a perforation to help the paper tear away. Don't worry if there are little stubborn bits that won't come out, as long as there are no big chunks remaining it's all good! If you still have an intact circle or oval, hold onto the freezer paper template as you'll be able to reuse it in the next steps.

P1050370.JPG
P1050371.JPG

Press your block flat and get ready for round 2!

P1050372.JPG
P1050397.JPG

10. Adding the next layer. It's kind of like, "Second verse, same as the first!" only smaller.

For those of you who like to make the most use of every piece of fabric and paper, the template you removed from the first circle can be reused at least one or two more times. Simply flip it back to the papery side and draw another circle, smaller than the first. This will be an overlapping layer.

P1050373.JPG
P1050375.JPG

Repeat steps 3-9 using a fabric with a good contrast from the first.

P1050379.JPG

As for how many circles you include on your blocks, that's totally up to you. Be creative and find a layout that appeals to you. For those of you making these as bee blocks for the F+F2 bee, I do ask that you try to do 2 or 3 layers at least once on the block.

P1050381.JPG
P1050412a.jpg
P1050416.JPG

But most important is to have fun and hopefully be inspired!

If anyone has any questions or concerns, please do not hesitate to contact me.

I <3 my LQS - as you do, too, no doubt!

Okay, so I feel like this is a little unfair. Only because those of us in the greater Portland area are REALLY REALLY fortunate to have several wonderful fabric shops from which to choose... Bolt, Pioneer Quilts, SewPo, Hollyhill, The Pine Needle, and though it's questionable whether this falls into the appropriate category, there's always Fabric Depot.

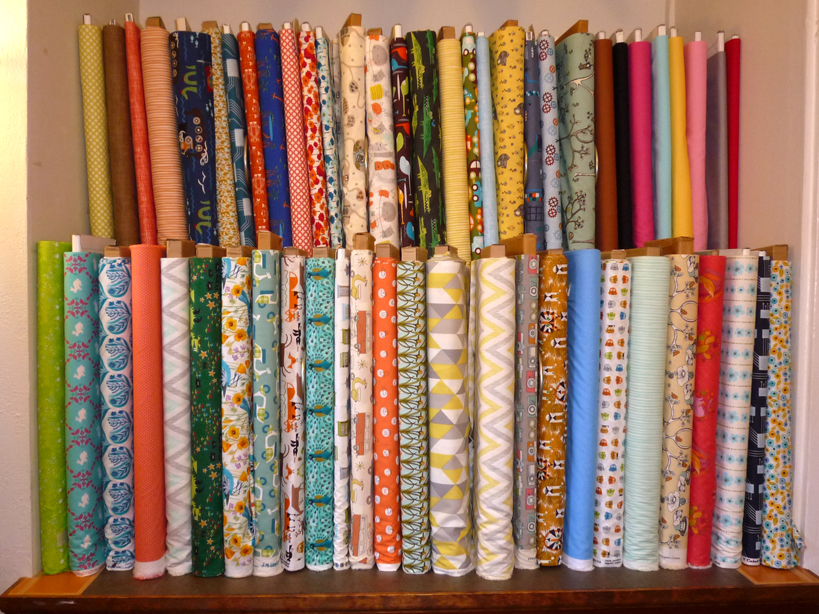
BUT, none quite compares with my home away from home away from home - Cool Cottons - in its individuality and character. Probably because no other shop has Marie. Nor an entire inventory based on her unique tastes.

The Organics Alcove!

The Organics Alcove!

I was initially hesitant to share my endorsement with the event at the heart of this "Visit Your Local Quilt Shop Day" for fear of crossing a conflict of interest line (I'm one of those lucky gals who gets to work part-time at her favorite LQS), but in scouring their page and the photo contest rules we didn't find anything to deter employees of the individual shops from participating. So I decided to add my photo to their photo contest, open until 11:59 PST tonight, January 24.

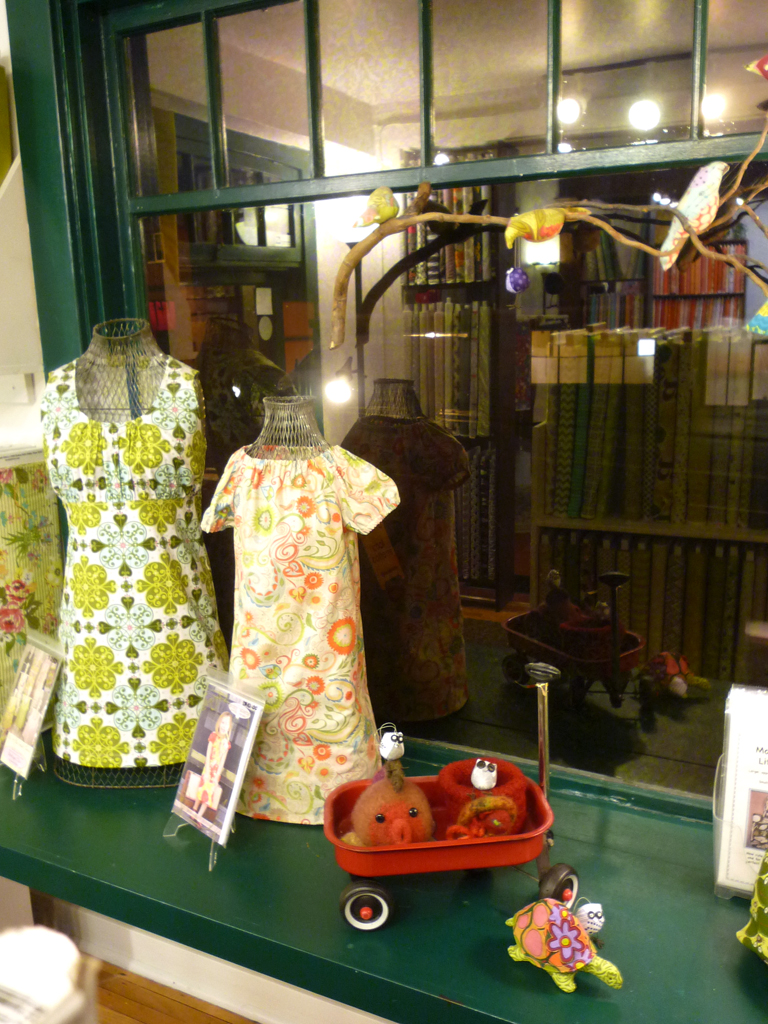
Some of the friendly critters you might have the luck to meet on a visit to Cool Cottons... gathering to say "Goodnight!"

Some of the friendly critters you might have the luck to meet on a visit to Cool Cottons... gathering to say "Goodnight!"

I actually took over half a dozen photos trying to capture just the right image to share. I hope this one goes over well...

And as a little boon, she's been giving away some fun "free with purchase" fabric samples like these:

P1050308.JPG

The bag was dwindling by the time I hit the road this afternoon, but if you're in SE Portland there might be a few little gifties for the taking - and 4 more hours to shop and get photos to enter in the contest!! And even if you don't have a chance to enter, go and vote for your favorite photo, starting at midnight Jan. 25th! But most of all, keep the spirit of this throughout the coming months and patronize your favorite places so they can continue to be there for you! WE LOVE LOCAL!

WIP Wed. 1/23/13

Another week of sewing! Lots and lots of sewing. And a few other things in the wings. I feel I should mention the great positive commotion related to the upcoming Visit Your Local Quilt Shop Day... it's been fun to see all the props people are giving their favorite shops. I've stayed in the wings on this one not wanting to unleash a potential conflict of interest, since I am employed by my favorite LQS, but it's great to see that Marie and her shop got lots of love on the blog hop this past week! Let's keep our fingers crossed that the love carries over into tomorrow and becomes a big shopping day!

Getting right to it, thank you Lee for continuing to host WIP Wednesday!

WIP Wednesday at Freshly Pieced

New

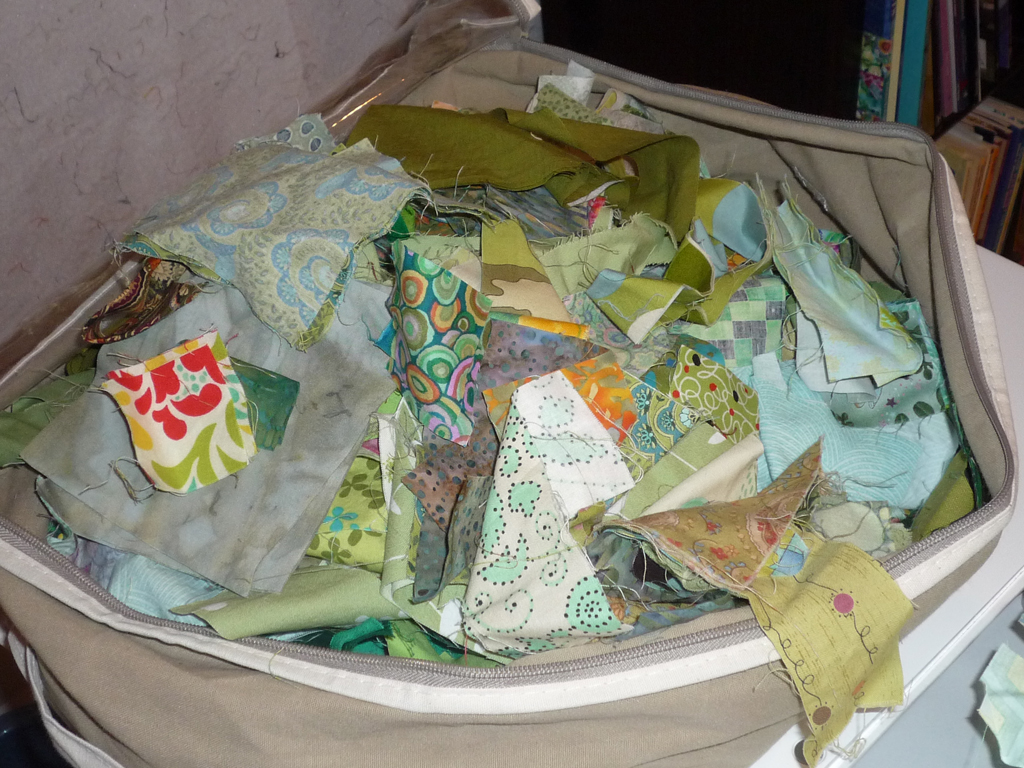
A new monochromatic scrappy scrappy

A new monochromatic scrappy scrappy

P1050265a.jpg
P1050270a.jpg

It's been a while since I've delved into my zipper bags of scraps to put one of THESE together. And doing it on my newest hand-me-down The Bernina Activa 240 - seems to be a little power house, let me tell you! And I have to admit it's kind of strange to be sewing in my basement again! I'm now spread out across half the city!

P1050277a.jpg

HST quilt-to-be. I have had the yardage for these guys piled up and set aside for about 2 years now. A project that I have wanted to do for my unofficial in-laws that somehow always got pushed back. You all know what I'm talking about, right?? But 2013 is the year, I tell ya!

MQG Madrona Road Challenge

MQG Madrona Road Challenge

This will be changed around, I am certain. If I even continue to pursue it. I talked a bit about this challenge in my previous post here. It's getting down to the wire and I should have been working on it when I got home from work yesterday, but the inspiration just wasn't there. What can I say?

Some Progress

P1050260a.jpg

Got this basted, but haven't begun quilting it. Which I need to do so that I can retrieve some of those pins in order to baste other projects!

I'm also nearly finished hand stitching the binding onto my warm/cool QAL wall hanging. I don't have any new photos of it, but I'll be sure to post a stellar one for next week's "Completed" category!

And that being said":

Completed

P1050247a.jpg
P1050283a.jpg

Two more sets of pot holders. That's all, nothing so exciting. Which leaves...

No Progress/Quilt Tops awaiting quilting

If I could count, I could tell you how many more sets of pot holders are pieced and just need to be quilted and bound. I think 6.

Grey/blue Nubees quilt

Green/brown spiderweb quilt

Pink Elephants

Yellow/magenta Encapsulated

Russet 60/30 Diamonds

So, the final tally seems to be:

New: 3

Some Progress: 3

No Progress: 11

Completed: 2

Thanks again for sticking with me here! I'm excited to keep going and share some new things in the next couple of months - Stay Tuned!

Madrona Road Challenge late-comer

The Modern Quilt Guild has introduced its winter challenge for this year. Well, actually, they introduced it close to 2 months ago, but due to my inactivity with the guild last October and November I missed the first sailing of that boat. But, thanks to forums like Flickr, friendly blogs and the fact that the designer at the heart of this challenge, Violet Craft, happens to be a member of the Portland Modern Quilt Guild, I got a deferred chance to participate. That is, once I could pick up a bundle of fabrics at our January meeting for PMQG.
Participating guilds were given yardage of certain prints from Violet's collection for Michael Miller, Madrona Road, which were then cut down to fat-eighths to distribute among guild members.

P1050273a.jpg

From what I've gathered, the official challenge from The Modern Quilt Guild is relatively open-ended, the only requirement being that individuals may ONLY use prints from Madrona Road plus any solids they deem. However, each of the individual regional guilds were open to making more specific challenges within their groups. For instance, PMQG specified a size restriction and to use an inspiration word which should then be incorporated into the actual quilt. This challenge did not inspire me so much. But then, at our guild meeting earlier this week it was made clear that we did not HAVE to comply with those restrictions in order to enter the greater challenge category. Now we're talkin'! So, I picked up one of the last available packets of fat-eighths and started thinking.

And put fabric bits up on my design wall.

P1050256a.jpg

Now, the real challenge here is the timing. Completed submissions are due on the flickr page by January 31. There is also a flickr page for the larger pool of photos related to this challenge including process photos, but it was emphasized to us that in order to be considered for display at the Michael Miller QuiltCon booth photos MUST be in that first group. I might end up with something smaller than I'd like simply by necessity. Ah well. I've started playing around with a design, but I can tell you now that it doesn't compare with so many of the great pieces already submitted! But part of the joy is just playing along, right?